Adding Trim to a Cased Opening
This project has been a long time coming! One of my long-term plans for my house is to add molding and trim where it hasn’t been since the house was built in the 40s.
I started by designing and adding trim around the windows in my living room. Then when I started turning our guest room into a nursery for our first baby, I added the same style trim in there too.
But now with baby boy’s nursery behind me, I’m getting back around to my dining room to-do list I posted about last year.

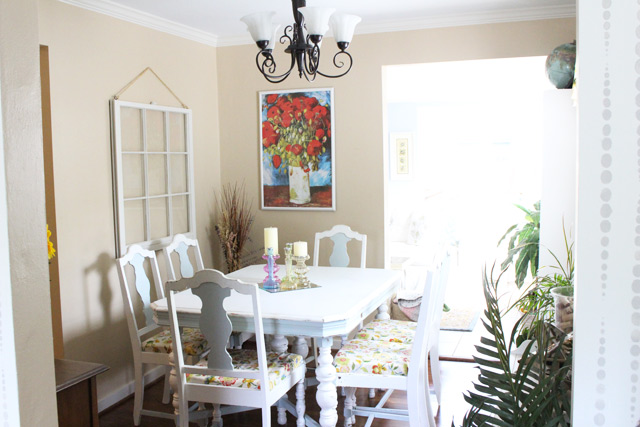
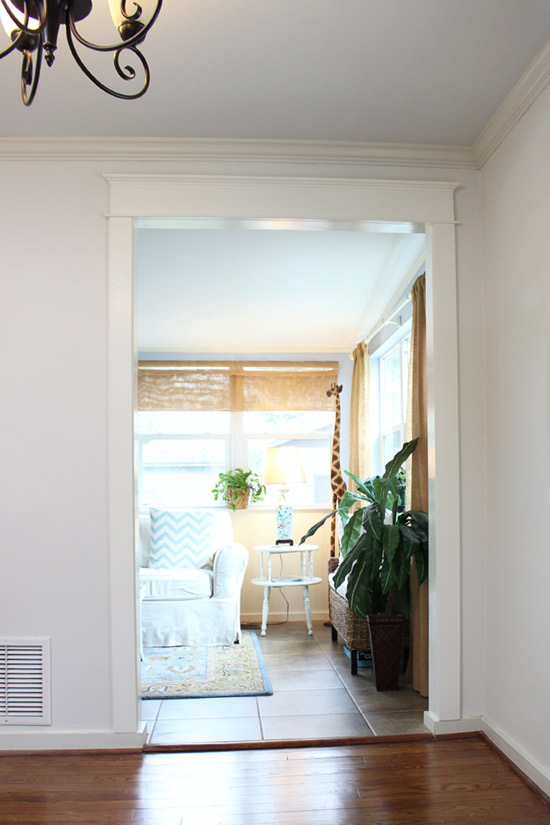
A year since I wrote out my to-do list where I said I wasn’t going to paint the walls and I changed my mind. I quickly painted the walls before adding some trim to the cased opening. The new wall color is Irish Mist from Behr. It’s a slightly gray white that looks so much more sophisticated than the harvest wheat that was there before, especially against that crisp white trim.

Now about that trim…
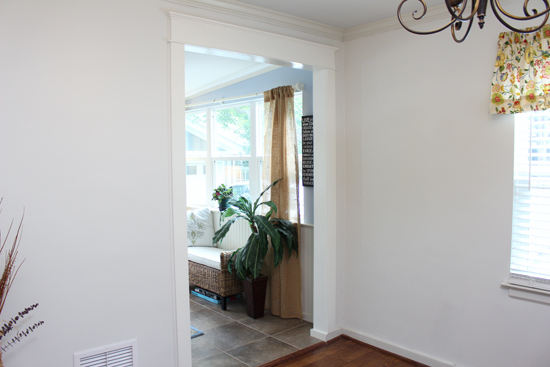
It’s exactly the same as the window trim, except I didn’t have to deal with a window stool and apron which makes it cheaper and quicker!
Here are the materials you’ll need to replicate this project:
- (2) 8′ 1×4
- (1) 6′ 1×6
- (1) 7′ door stop molding
- (1) 8′ bed molding
- tape measure
- miter saw
- trim nail gun and compressor
- fine-grit sandpaper
- painter’s putty
- painter’s caulk
- paint and brush
If you have simple 1x4s as baseboards like I do, you simply measure from the top of the baseboard to the top of the opening to get the measurement for the ‘legs’. You’ll want to measure on each side in case there’s any discrepancy between the 2 sides. In my case, they were both exactly the same! Cut your 1x4s to this measurement.
Then measure from right to left in the opening at the top to get the measurement for your 1×6. You’ll need to add the width of (2) 1x4s plus (2) 1/8-inch reveals to the measurement before you cut the 1×6. For example, my opening was 47-3/4. So I added 3-1/2+3-1/2+1/8+1/8 and cut my 1×6 at 55 inches. (Watch the video above for more detail and explanation!)
Whatever you end up with for your 1×6, you’ll add 1-1/2 inches and cut the door stop molding to that length. This gives you a 3/4 inch overhang on either end of the 1×4 legs and 1×6 head casing.
To cut the bed molding, you’ll definitely want to watch it happen in the video above and also check out my post on how to cut bed molding for indoor trim here.
Once you have everything installed with 2 inch finish or trim nails (use smaller for the bed molding), cover up any holes with painter’s putty and apply caulk in all of the seams. THIS makes all of the difference in making the trim look finished and polished. With the caulk and putty dry, paint with your trim paint. I used Benjamin Moore’s Simply White color-matched in Behr semi-gloss paint. I’m slowly changing all of the trim in my house to this color. It seems to be a very versatile white so far!

I still need to add matching trim to the other 2 openings in the dining room, but should be easy-peasy now that I’ve got one down! What projects are you working on around your house? Have you installed trim in your house? What kind? Comment below and let me know!
Thanks for Checking In! ~Chelsea

15 Comments
Jimmy Burchell
Great Job Let Gus help you next time
Chelsea Lipford Wolf
He had to watch me do it the first time, but now he knows how to do it and can help with the next one! Ha! ~Chelsea
Stephanie
What a simple and inexpensive way to add a great “finishing touch.” Looks like that moulding should have been there all along!
Jeff Croteau
Looks great, and it really helps me with my molding project. Any recommendations on what kind of miter saw to use?
Chelsea Lipford Wolf
The saw doesn’t matter so much as the blade! As long as you have a quality blade you’re in business. ~Chelsea
Christine
What type of material did you use for the trim? Was it common board?
Chelsea Lipford Wolf
Hi Christine! Yes it was common board! ~Chelsea
3onaMatch
Hi there, Just discovered your old (and great!) post. Do you by change recall the specific type of bed molding you used? I’m working on the same project and this is the last element I need.
Thanks!
Chelsea Lipford Wolf
Here’s a link to what I used. Some stores carry it in pre-primed which would be ideal if you’re painting it!
https://homedepot.sjv.io/c/1980335/456723/8154?u=https%3A%2F%2Fwww.homedepot.com%2Fp%2FAlexandria-Moulding-WM-74-9-16-in-x-1-3-4-in-x-96-in-Pine-Bed-Moulding-0W074-20096C%2F205917024
~Chelsea
Gma
I am not sure how to word my question – here goes. Did I understand correctly that you did not install wood on the drywall surface “inside” the wall opening? I am referring to the drywall area that sits at a 90 degree angle to the piece that you installed off-set.
Chelsea Lipford Wolf
That’s correct! It’s a ‘faux’ cased opening if you will. Sand the drywall smooth and paint to match the new wood! ~Chelsea
Gma
Thank you so much Chelsea for taking the time to understand and reply to my question. I am beginning work on casing an opening now, and your instructions are saving the day. I have all of the measurements done, I’ve done them several times! Now to begin!
Emily
Great video! I had the same question about the inside face. Did you leave the base board all the way around? I was thinking of removing part of the baseboard for the trim to go to the floor
Chelsea Lipford Wolf
Yes I left the baseboard in place! But the complete or thorough way would be to run the trim to the floor and then butt the baseboard to it. ~Chelsea
Fiona
THANK YOU! This is exactly what I needed in my house.