
How to Make a Floor-to-Ceiling Shower Curtain
Ok, so here’s the situation with my bathroom. It’s tiny. That’s all.
Well not really. Back when we remodeled the house (December 2011-March 2012) we didn’t change the footprint of the bathroom. And we didn’t change the arrangement of fixtures either. It’s the same floor plan from when it was built in 1941, just with new walls, vanity, counter, bathtub, and faucets.
From move-in day in May 2011 prior to the remodel:

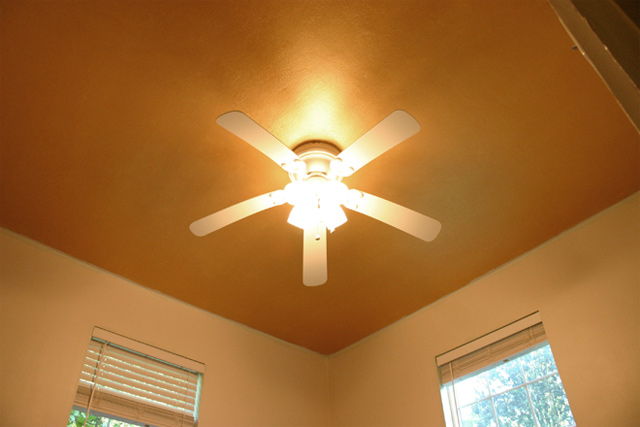
It’s still really small, but it’s the only one I’ve got (literally). So I thought I’d try one of those designer tips to make it “feel” larger. Namely, hang the curtain at or near the ceiling to draw the eye up and create the illusion of more space. I’ve seen this in magazines with window curtains and shower curtains alike. And it makes sense since the curtain rod does kind of dissect the room in the picture below.

The first thing I did to wrap my head around how to make this happen was to move the rod up as much as I could and still have the current curtain cover the edge of the tub. Looks pretty silly.

And if you noticed the change in shower curtains, this is a new one I got at a bridal shower in January! And since it’s new I wanted to keep it around a little longer instead of buying a longer one off the shelf somewhere. I decided the best option was to cut the curtain and add some white fabric about a third of the way down. It would add length and also give me a good place to have a monogram embroidered. You know since I’m a true Southern girl and all. We do love our monograms!
So I found some white muslin on sale at Hancock Fabrics. I needed it to be at least 74 inches wide so it would be the same width as my curtain. And most fabrics are 45-54 inches wide. But this one happened to come in a 96 inch width. So instead of having to get over 2 yards, I only got 1 yard. I could have gotten less, but it was a little thinner than I wanted. So I got enough to double it up when the sewing began.
With the fabric at home, I folded it in half and made sure the factory edges were lined up well without any pulls or drapes in the middle of the fabric.

And since it isn’t an exact science when they are cutting at the fabric store, there was a little discrepancy. I found the smallest common denominator was 19 3/4 inches. I started snipping at one end and cut a few inches at a time while constantly moving and double checking the tape measure along the way.

Once it was even, I ironed the fold the make it crisp and easy to cut.

I thought it would be easier to handle and work with when attaching it to the curtain if it was two separate pieces. Maybe not, but I’ll never know…

To make the finished product look as seamless as possible, I sewed the same side hem on the white panel as on the blue curtain. Then I laid it all out in the living room to see exactly where I wanted the white panel to end up. (Note this picture is pre-trimming and -hemming of the white piece.)

With a 15-inch drop determined, I nerve-rackingly cut the curtain after ironing the fold like I did with the white piece earlier.

Then I pinned the smaller top piece of the curtain to the white panel, face-to-face, and made a stitch as close to the edge as possible without it going off. I did this so there wouldn’t be a lot of excess sticking out and looking funny when I hung the curtain back up.

I repeated the same steps to add the bottom piece of the curtain. And then I ran like a little kid in a candy store to hang it up! And it looked like this…

And I cried big, sad tears.
Just kidding.
But I guess in my excitement I forgot to measure the white piece’s height. Initially I only wanted to add 12 inches overall to the curtain. But with my oversight it was more like 19 inches. So instead of having to pick out and re-sew 74 inches of fabric, I raised the rod a little higher. And then a lot higher. So high it couldn’t go any higher without being in the attic. But praise the Lord that hanging it at the ceiling meant it wasn’t touching the floor anymore!

Every victory comes with a price. And this one cost me a nick in the drywall!

The rod had only been hanging at the mid-way point for a day or two compared to the 800+ days it had been at the lower spot. I guess I was too aggressive in my maneuvering when moving it up the wall! Nothing a little drywall mud can’t fix. But that will have to wait until I get this situation figured out on the other side of the tub…

It wasn’t nearly this bad until I decided to go pick at it. I don’t want to repair this spot until I fix the cause. Which I’ve pretty much narrowed down to lack of caulk in the joint between the tub and the surround. It kind of funnels the water right to the drywall. (When the drywall damage was smaller, the caulk seam was right in the middle of the damage so it made sense.)

But I can’t re-caulk until my shower-loving husband goes out of town! (I can run over to my parents’ to grab a quick shower once a day while the caulk is drying and curing, but he usually takes 2 showers a day after working in the yard or exercising. Ain’t nobody got time for 2 showers a day with long hair to comb out every time!)
That should be sometime in August, so I’ll grin and bear it until then. And when it happens, you’ll be sure to get another update! Has anyone else tried the “hang it at the ceiling to make it feel larger” trick? I’d love to hear about your trials and tribulations if you have a small bathroom too! I read and try to respond to each and every comment below!
Thanks for Checking In! ~Chelsea

5 Comments
Maxi Smith
Hi Chelsea-love your work. I recently moved into a new home with a bathroom about the same size as yours except the tub is in front of the toilet with about 13″ between. Tried to hang a patterned shower curtain but it made the room seem more like a coffin with a toilet. I found a clear diamond-embossed curtain and now my bathroom feels so open and roomy. Went back to Bed Bath & Beyond and picked up 4 more for future backups. Just a suggestion. Keep up the good work and looking forward to more episodes.
Chelsea Lipford Wolf
Sounds like a great idea, Maxi! Thanks for sharing!
Rachel Russell
So you monogrammed the white?
Chelsea Lipford Wolf
I’m still not convinced I should! The plan was for the white part to be at eye-level, which would be perfect for a monogram. But now since it’s higher, I’m thinking it wouldn’t look as good. Any opinions are welcome though!
Francine D.
I think the monogram would work. I’d use the same color as the curtain or perhaps sliver or gold, etc. Then I’d add a graphic touch before and after or above and below the monogram. Something to compliment the pattern in the curtain. Good luck. I have my curtain and fabric…just finding the time.