Painting Washer and Dryer
I’ve finally finished the physical work over at my laundry room project. The bad news is you’ll have to wait another week or two to get all of the posts to wrap this puppy up!
After I had a little help hanging cabinets on the wall, I got to work painting the washer and dryer.
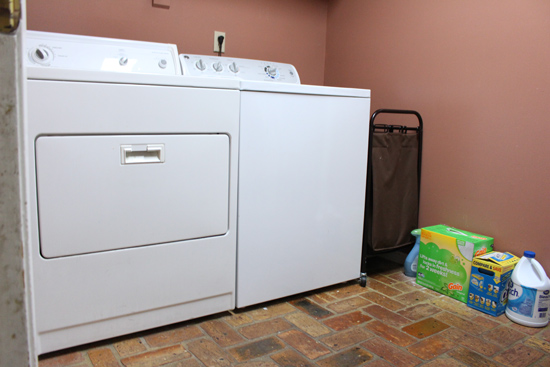
I know it’s a common scenario to have mismatched washer and dryers. In this case, they’re both white, but the dryer looks much older than the washer. Most budgets don’t allow homeowners to update both appliances at once when only one is broken. And when neither of them are broken, you keep on trucking!
The dryer here had seen better days, though.
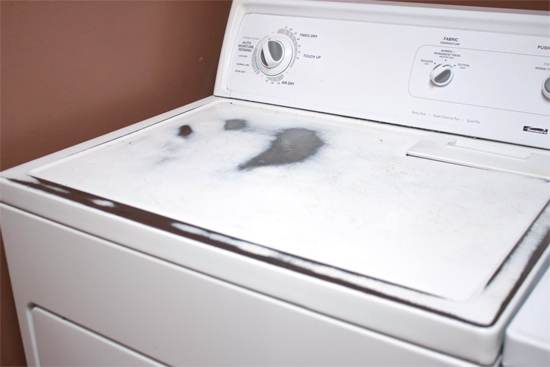
Lots of wear and tear from the laundry basket, I presume. So to clean up the appearance of the dryer and just give both appliances a new lease on life, we opted to paint them a steel gray color. Of course that’s a fairly trendy color option in washers and dryers these days. So that also helps make them look more modern.
The first step in prepping for paint was to trace the wording from the dryer controls onto wax paper.
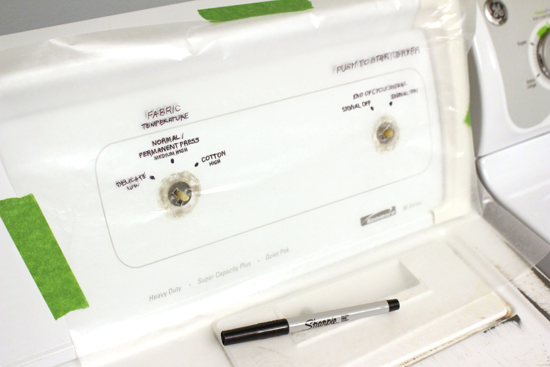
Since the control panel is what makes the dryer look more dated than the newer-model washer, the plan was to paint over it. Then I’d cut out new letters with my Cricut electronic cutting machine. I simply removed the knobs and taped the wax paper over the controls. Then used a very fine tip Sharpie to trace. Tracing the exact lettering isn’t as important as getting the sizing and placement correct for later.
To actually paint the machines, the homeowners moved them outside onto some plastic dropcloths before work one day. So when I got there I was able to start lightly sanding right away. After wiping down the sanding dust and any other dirt, I taped up anything and everything that didn’t need paint.
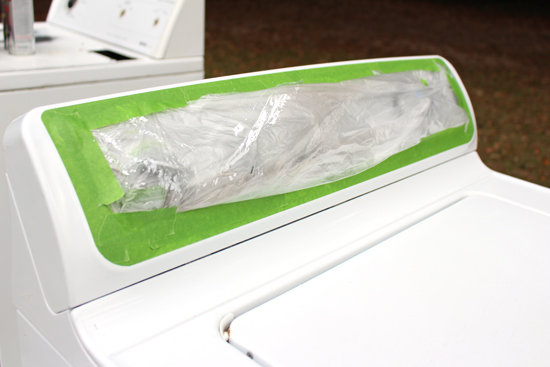
And since I wanted to paint the edges of the door for the dryer and washer, I taped plastic inside them in the open position.
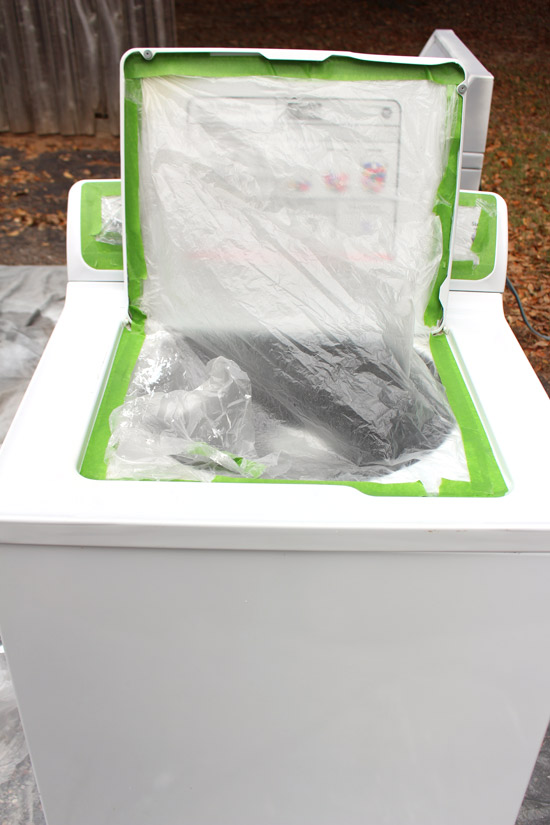
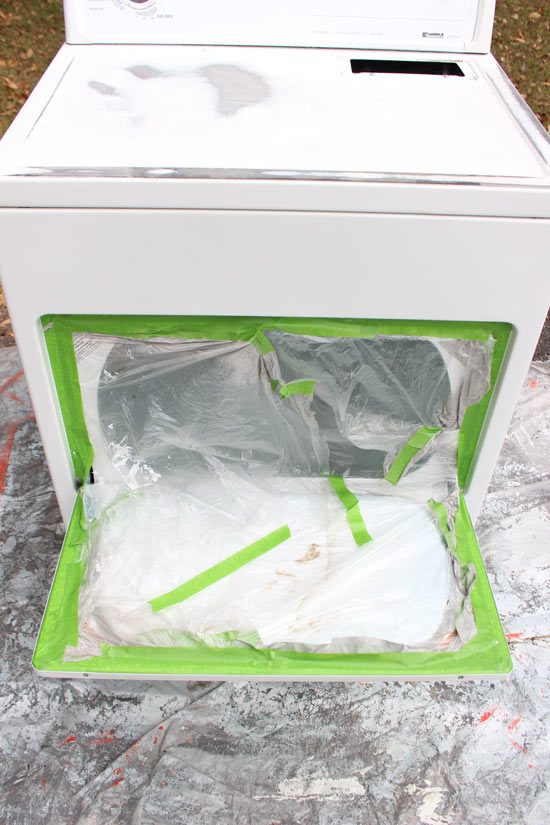
Then, I used the spray primer to cover the exposed metal on the top of the dryer.
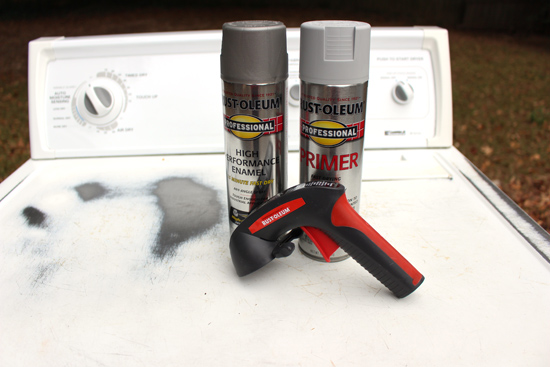
And since I had such a big can of it, I was able to coat both the washer and dryer with the primer as well. It’s recommended to use the primer for unpainted metal surfaces, but not necessarily for currently painted surfaces. But I say use it if you’ve got it!

That contraption in front of the spray cans in the picture above is a life-saver, or at the very least a finger-saver, if you’re spraying a lot at once. It clamps onto a can with the typical spray nozzle and then you use the trigger to paint. Much more ergonomic for your phalanges!
The primer can be coated immediately, so no waiting on paint to dry! I transferred my ‘finger-saver’ to the color of choice, Stainless Steel, and got to spraying. When I’m spray painting, I’ve found it’s best to do the first coat all in one direction. Here I sprayed horizontally.
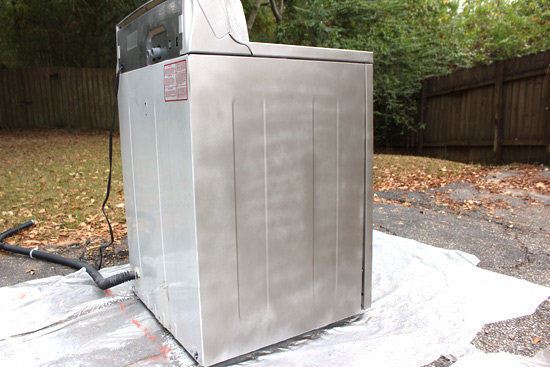
Then go back in the opposite direction (vertically) for the next coat. It’s just easier to get better coverage that way. I used about 5 cans of paint between the 2 appliances and probably about 5 coats, alternating directions, to get great coverage.
After the homeowners moved the appliances back into the room later that day, I was able to apply my vinyl letters on the dryer control panel. In hindsight, the lettering was a little small for my machine to cut well, something I wish I had known prior to painting over the original ones. I might have left that part white. But I eventually got everything cut and placed where it belonged.

I waited a day or two before giving the gray paint and vinyl lettering a clear topcoat. Though the paint I used was made for metal, I wanted to make sure the paint stood the best chance of survival against all of the abuse these appliances take in a week. So I used this clear matte topcoat.

I used this same stuff for my recently upcycled bar cart and on a chalk painted coffee table (post is coming up soon!) and loved that the brush strokes disappeared and it wasn’t too shiny. You can see in the picture above that it goes on milky white, so you can see any spots you missed, but then dries clear!
The topcoat dried for 24 hours before the machines were put back into commission. Here’s a sneak peek of the washer and dryer in the finished laundry space.

Not too shabby for a less than $50 appliance upgrade! Can’t wait to share more details with you about that stained ledge and glass tile!
What do you think about painting appliances? Is it worth it? Share in the comments below!
Thanks for Checking In! ~Chelsea



2 Comments
Maxi Smith
Awesome. Have you ever done this with an oven (mine is hideous) and a refrigerator? I need to do this with mine. Thanks, love all the ideas you and the show provide.
Chelsea Lipford Wolf
I’ve never used this same technique for either of those appliances. And I would not recommend doing so to an oven because of the high heat. My aunt took her oven doors to an automotive painter to have them repainted. Maybe something to consider? As for the refrigerator, I could see the same method I used here working. Just be sure to sand it really well and apply an appropriate primer beforehand. Hope that helps, Maxi! ~Chelsea