How to Make Personalized Burlap Bunting for Any Occasion
Make Your Own Bunting with Burlap and Yarn
Creating bunting using burlap is an easy way to add a personalized touch to a wedding, baby shower, or any celebration. Follow these steps to make your own!
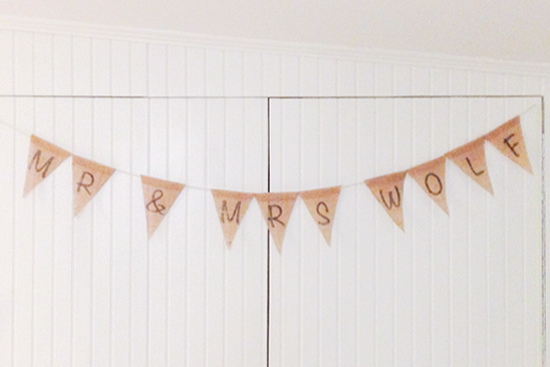
My husband and I were recently married on March 29, 2014! And since I love making crafts and just doing things myself in general, I had to put some personal touches on our big day. One contribution was a bunting for the photo booth at our reception.
I had pinned several wedding related items on Pinterest that included some sort of bunting, like this. So I knew I wanted it somewhere. And once we decided to have a photo booth, I thought that’d be a great place to hang it.
Materials
- 7″ wide burlap roll
- permanent marker
- yarn, string, or small rope
- stapler
- scissors
We ordered a bunch of burlap to tie bows around some of the dining chairs for the reception. And we had several yards of 7 inch wide burlap leftover that I used for this project.
Create a Template
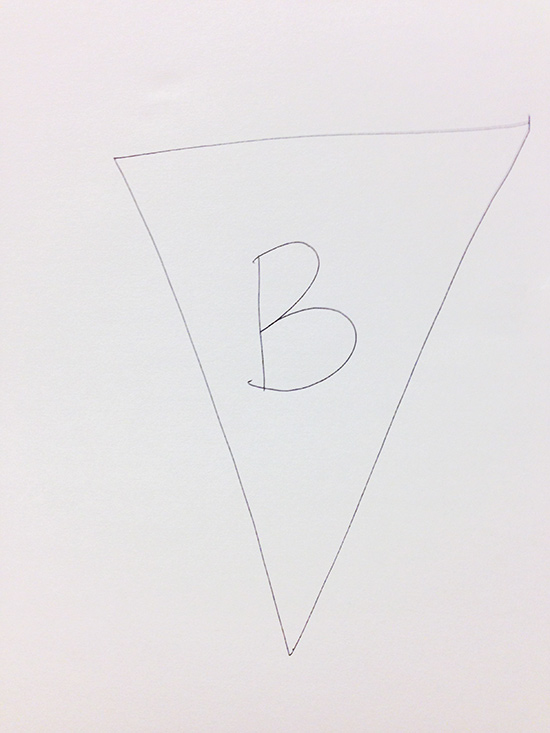
First I drew out the basic outline of my bunting, a triangle, on a piece of computer paper.
And to be sure I had the right sizing, I drew a letter in the middle to make sure it was big enough to be seen and looked proportionate. I originally thought I’d spell out ‘Brandon and Chelsea’ with the bunting. So I did my test with ‘B’.
But I soon found out that was a lot of triangles to cut and so I went with ‘Mr & Mrs Wolf’ instead.
Once I liked the sizing of everything, I realized I needed a little extra on the end of the triangle so it would be able to attach to something. So I drew a flap and angled it so when it was folded over a piece of string or yarn it wouldn’t be seen from the front.
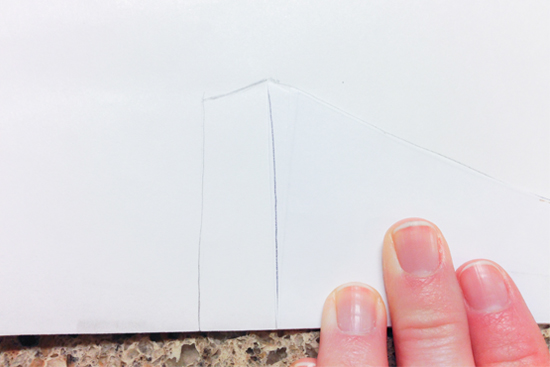
Then I lined it up on the fold of a piece of paper to create an even template.

Laying out my stencil on the burlap, I traced it with a permanent marker. I figured a pen would get caught in the weave of the burlap too easily and I could always cut inside the black marks to make it disappear.

I left a tiny bit of space between the traces in case I wanted to increase the size of the triangles as I was cutting, which I ended up doing.

My next step was to pick a font I liked on the computer and print off the letters I’d need in the right size. This took some trial-and-error to get it right, but eventually I got it!
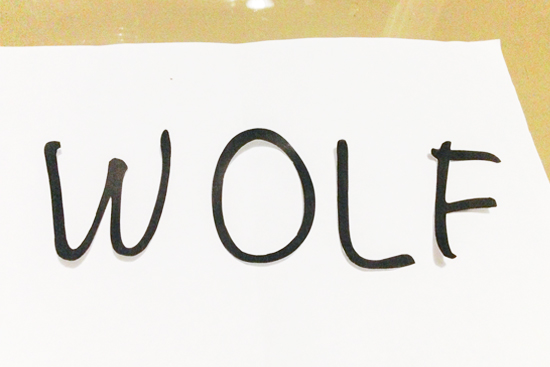
*One note to make if you have burlap that comes in rolls like mine did, you’ll want to iron it flat before tracing any letters on it. And this is also a good time to fold and iron the extra flap that I used to attach to yarn. I used a spray bottle to get it damp with water and then used my iron on a medium setting. It might smell a little funny, but it’s safe for the burlap and your iron.
I thought I’d be able to hold the letter in place on top of the burlap triangle and trace it again with my permanent marker. But it was too small to hold in place and trace at the same time. So I ended up placing the letter under the burlap. It was still visible and perfect for tracing!
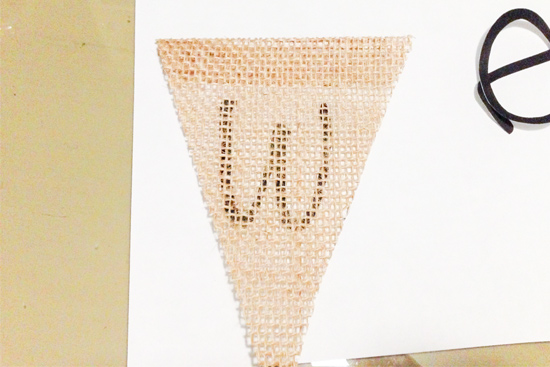
At this juncture, I realized I didn’t have to intricately cut out all of those letters. I could have easily left them intact on the paper and traced from there…oh well, you live and you learn!

Once all 10 characters were traced, I laid it out with my yarn!
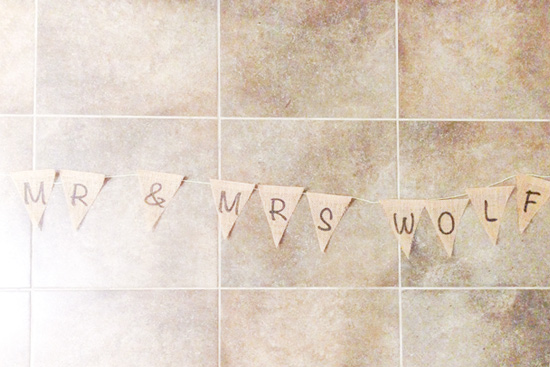
Then I was ready for assembly! I tucked the green yarn under the ironed flap and stapled it in two places. I didn’t staple through the yarn, but just below it. It stayed in place really well without having to staple the yarn.
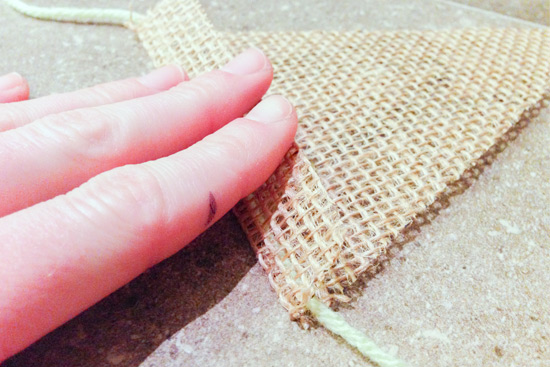
I stapled the first one and looked it over to see if the staples were real obvious. And they weren’t!
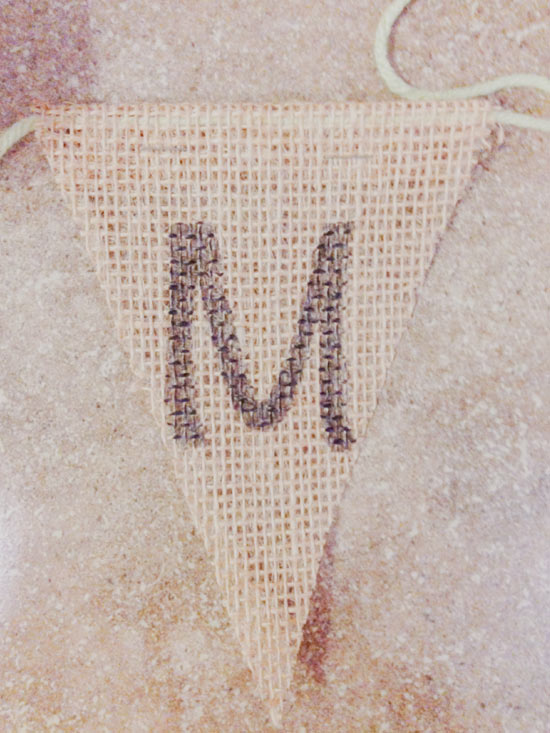
Of course if they were, I’d have just chalked it up to character and charm!
Then I hung it up to visualize it in my photo booth.

And since this post wouldn’t be complete without the bunting in action, here are a few pictures from the wedding photo booth.

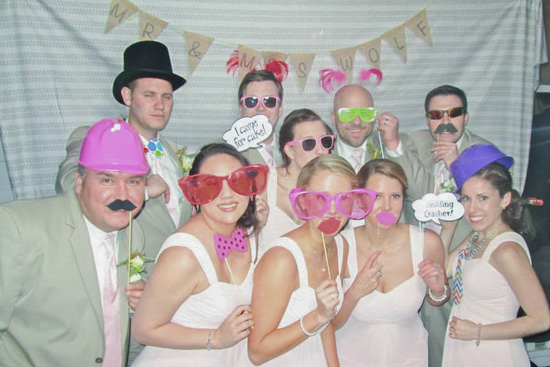
Can’t forget my handsome husband and me too!

Thanks for Checking In! ~Chelsea


