-
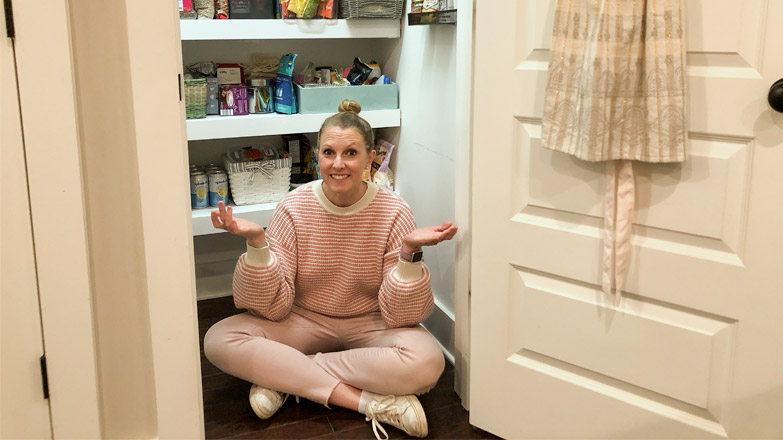
Wire Shelf Pantry Makeover
Update the basic wire shelf in your pantry by covering it with plywood! Just a few materials and a few hours of your time and the headache you have every time you use your pantry will disappear! One of my sisters, Emily, recently purchased her first house, a sweet little townhouse! When I asked her what projects she needed done, she immediately said she wanted to get rid of the wire shelving in her pantry closet.
-
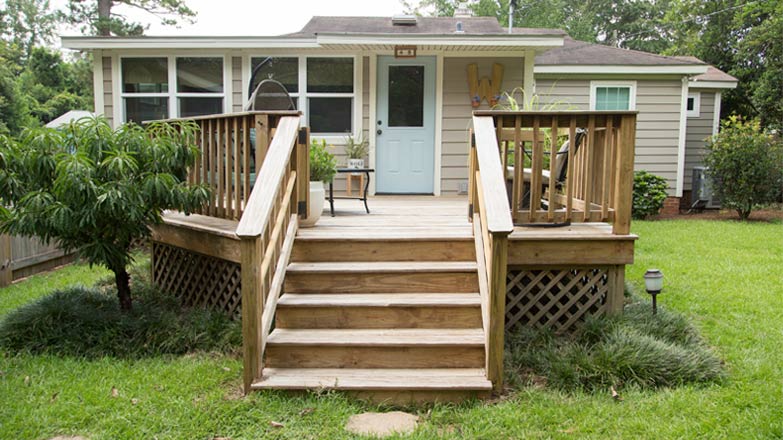
How to Refresh Your Wood Deck for a New Look
Stripping Stain to Bring New Life to an Old Deck Using a chemical stripper and scrub brush you can refresh your wood deck by stripping the stain to breathe new life into your worn deck in a weekend. Then seal it to keep it looking fresh for months to come! Materials
-
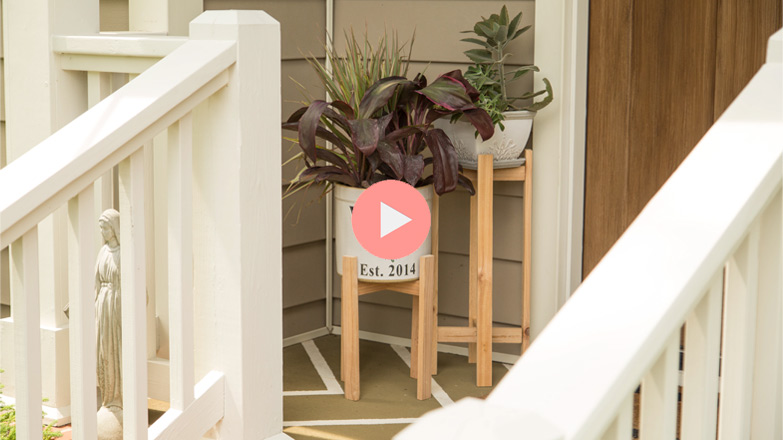
How to Make a Cheap 30-Minute Plant Stand
Quick, Easy Plant Stand Adds Warmth to a Front Porch Watch this how-to video and build your own trendy wood stand for a planter of any size! Perfect for adding height and texture to your porch, deck or patio. And it only costs $6 in lumber! Materials 1×2 cedar board* pocket hole jig*(newer version of what I used) miter saw* tape measure*(my favorite!) drill/driver wood chisel* wood glue* clamps* sander* planter (personalized crock like mine) Obviously if you don’t have all of the tools and screws on hand already, this project will cost more than the $6 piece of cedar. But it’s still a great, easy piece to make! Cut…
-
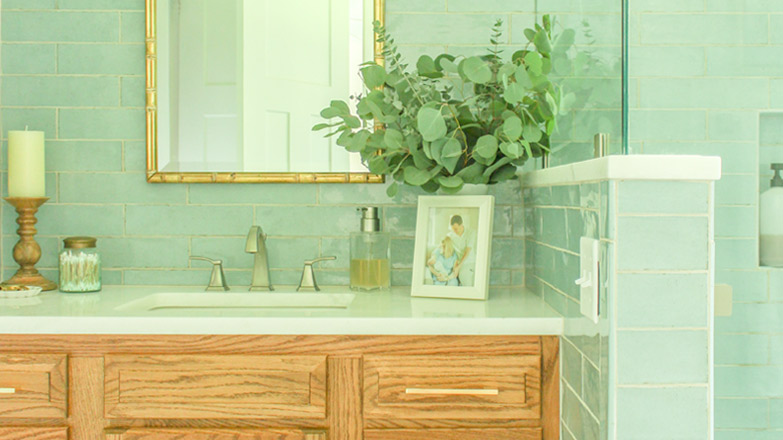
How to Paint a Door to Look Like Wood
Changing the Color of our Fiberglass Door If you have a fiberglass door, you can paint it to look like stained wood with these few simple steps! And it only takes a couple of hours. Materials English Oak Base Coat* Honey Oak Finish Coat* quality paint brush* OR Giani Honey Oak kit*
-
DIY Pegboard Hanging Bins
These custom DIY pegboard bins are perfect for hanging scissors, rulers, pens, pencils or markers! With the recent completion of my pegboard makeover, I thought I’d give you a little more detail on the bins I built. So you can make them for your pegboard too! The finished inside dimensions of this bin are 2.5 x 2 inches. So all subsequent measurements are based on this size bin. Hit me up in the comments if you have any questions!
-
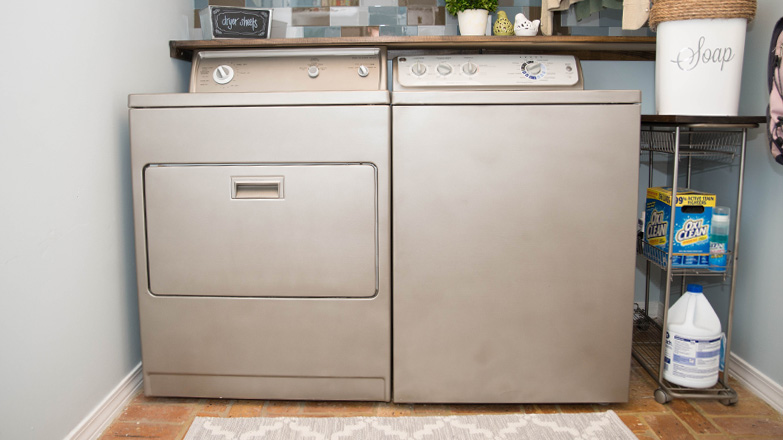
Stained Shelf in Laundry Room
Adding a shelf, or ledge, above your washer and dryer is such an easy and relatively inexpensive way to add more style and storage to a plain old laundry room. So after hanging cabinets and painting the washer and dryer in my laundry room project, that’s exactly what I set out to do. If you’ve been reading all of my posts, you may have noticed I installed the cleat to hold the ledge a long time ago, before hanging cabinets or painting the appliances. It’s the same system I used to hang the shelves on the opposite wall next to the cube organizer. But this time, I was staining the…
-
How to Deck Out your Laundry Sorter
Part 2 of How to Build a Beautiful Laundry Sorter Follow my plans to build a 4-hamper laundry sorter, then check out this post for details on how to stain the top, paint the base, and install the drawer hardware to complete the dresser look! Materials (5) 1×4 poplar boards, if staining top (5) 1×4 pine or whitewood, if painting top wood stain or paint (I used Minwax’s Espresso) stain rags* or paint brush drill/driver* 3/16″ drill bit* drawer pulls* small chain* small wood screws* I included the materials for the top of the sorter in the shopping list in my last post, (5) 1×4 poplar boards cut to 74 inches.…
-
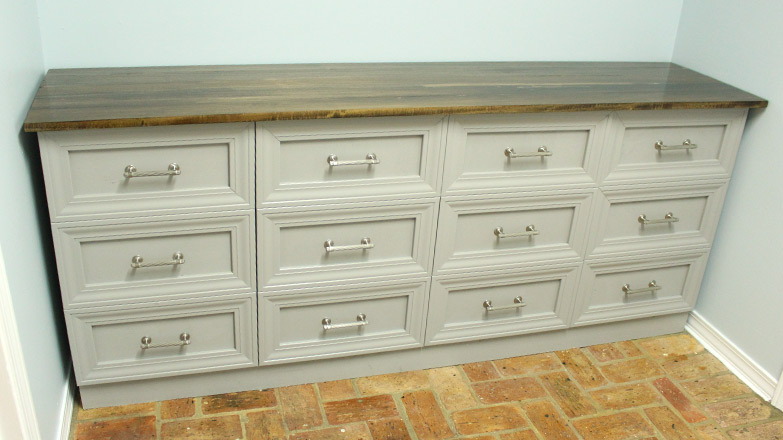
How to Build a Beautiful Laundry Sorter
DIY Laundry Sorter That Looks Like a Dresser Plans for building a laundry hamper sorter that actually looks like a dresser. Such a pretty way to dress up your laundry room while adding function at the same time! It’s finally here! The tutorial you’ve all been waiting for! Or maybe it was just me? The laundry sorter-that-looks-like-a-dresser is complete after I think a month of trying to work on it. But that was more my schedule and timing than the time it took to actually make the thing. It looks like a dresser with 12 drawers…but it’s actually 4 pullout hampers! The color is Casual Gray from Behr* and the…
-
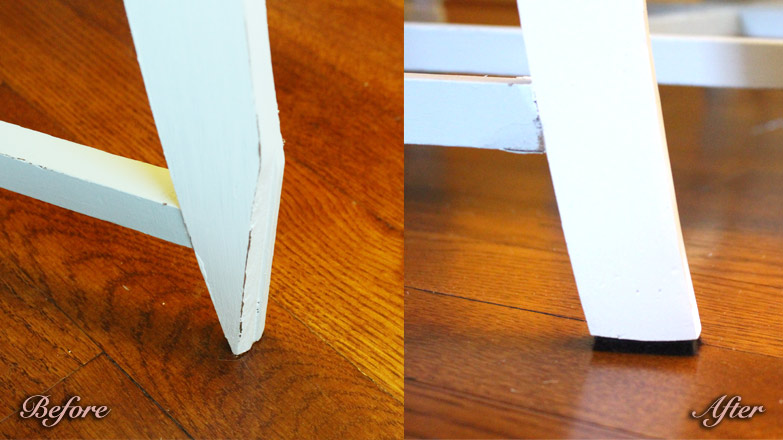
How to Repair Wooden Chair Leg
Projects are moving slow in the Wolf household. But it’s for good reason. We were away this past weekend celebrating my youngest sister’s graduation from Auburn University. Mary Helen got into the War Eagle spirit too! Her father may disown her since he’s a diehard fan of the Notre Dame Fighting Irish, but she’ll redeem herself with all of the ND gear she’ll be sporting come football season this fall! Go Irish! Before we headed north to the plains of Auburn, Alabama, though, I put the finishing paint touches on my dining room chair repairs! And I’m so glad I did.