-
DIY Lighted Marquee Numbers
Create DIY large lighted numbers to celebrate any birthday or anniversary using dollar store foam boards and cafe lights. The fundraiser at my kids’ school was celebrating 20 years. So I volunteered to make these DIY lighted numbers as part of the decor for the event! Sure we could have rented them. But that would have cost around $300. Possibly more. Instead I only spent around $30 since I already had cafe string lights on hand!
-
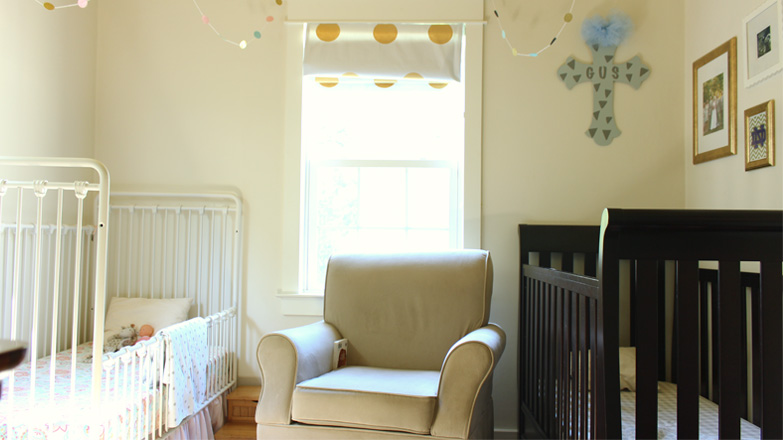
Shared Toddler Room Mood Board
How I’m Turning Our Nursery Into A Boy/Girl Room If you follow my Instagram stories, then you may have seen back in May we started moving our little guy, Gus, into his sister’s room. They were pretty much sleeping on the same schedule and Grandma from Indiana was coming to visit. Plus with a few trips coming up this year where we’d all be sharing a room, I thought it was a good impetus to have them share a room full-time. And we’d have an official guest room again! Unfortunately for Gus the room was very pink. Here’s what is looked like when I finished it up back in 2015 before…
-
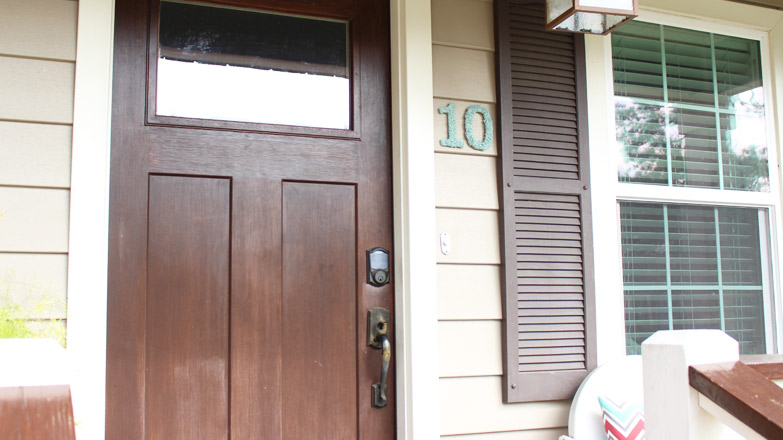
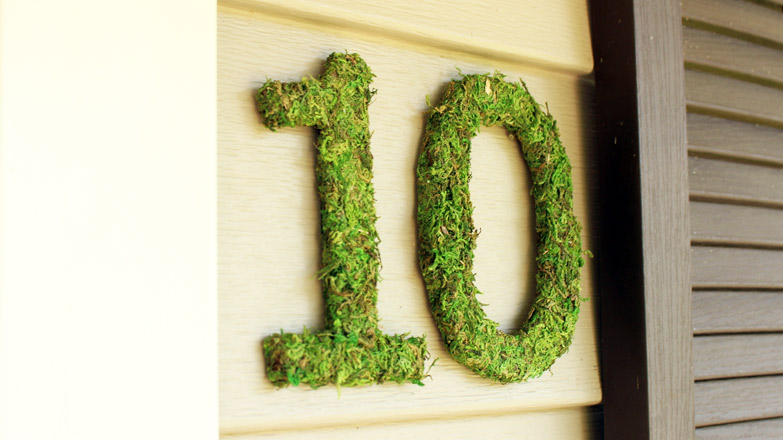
Update: House Numbers
It hasn’t been too long since I hung up my moss-covered house numbers on the front porch. Unfortunately, it was plenty of time (9 months to be exact) for the sun to wreck havoc on them and fade the mossy green color. It just made them blend in with my siding which is the opposite of their purpose…So it was time for a little update.
-
Repurpose Dingy Hand Towel
Don’t throw your old hand towels away! I was thisclose to throwing away a dingy Christmas hand towel. But the small design on the front was still cute and in great shape! The dingy part was mostly on the back where it had been stained from a pair of my red pants, or rather from trying to dye said pants in the washing machine…
-
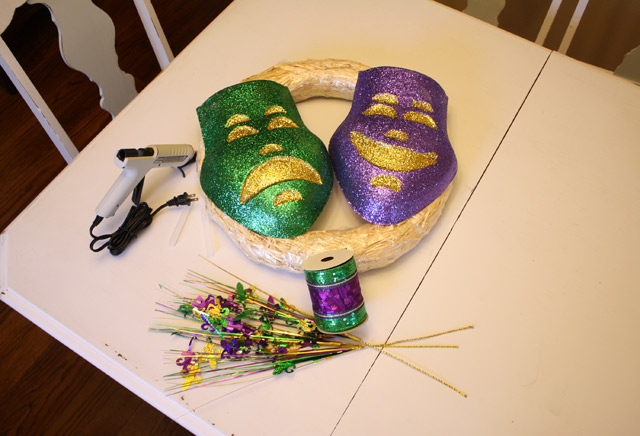
Geaux Saints DIY Wreath
Growing up in southern Alabama, fall was always about college football. So I never grew up with a pro football team affiliation. And even now that I’m married to an Indiana boy, he’s more about his Fighting Irish than following the Indianapolis Colts. Though I know he still watches some and keeps up with them. So when a local news talent, Chad Petri, asked me to share some tips on making wreaths back in September, I thought I’d go with neutral territory and make a wreath for the New Orleans Saints. (Our closest NFL team.) I’m not saying this wreath has magical powers, but I will say the Saints didn’t…
-
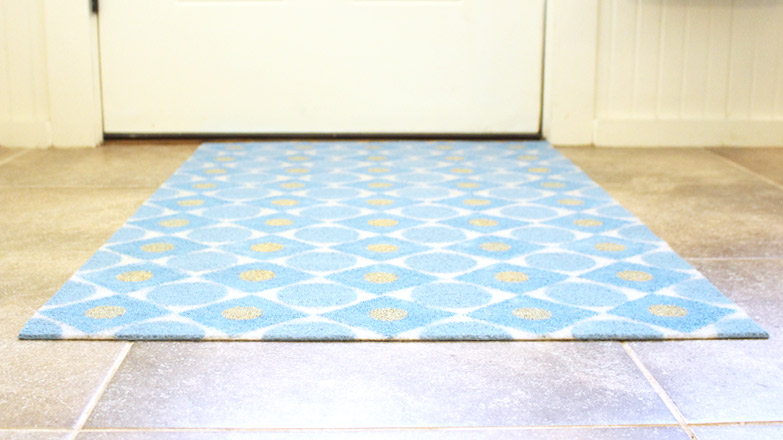
How To Paint An Entry Rug
So I’ve had this rug complete for over a week now. But there was something funny going on with my website that would not let me upload images. And what good is a how-to tutorial without images? No good at all, I’d say! Thanks to some deep digging from my buddy and webmaster it’s fixed and I’m getting back on track!I teased the finished rug on Instagram (so click over to follow me!). Rain rain go away! I’m tired of the summer thunderstorms that have been rolling through almost everyday this week! So I’m dreaming of a sunnier day when I made this new rug for our back door. #sneakpeek…
-
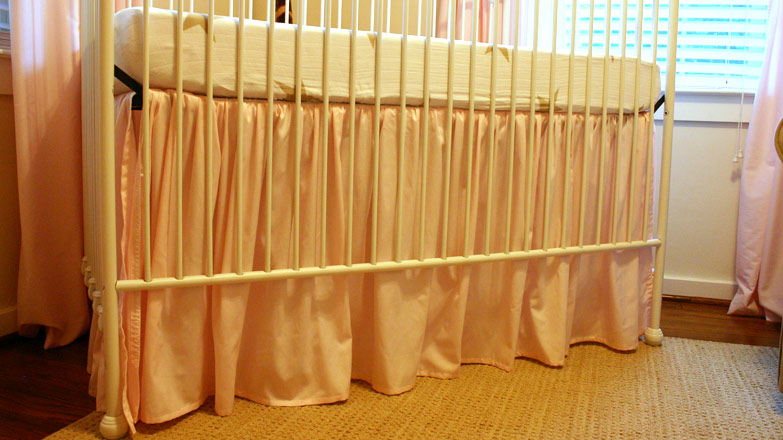
DIY Burlap Roman Shades
We’re only 11 days into July, but it’s already been so, so busy! Between Independence Day festivities, taking care of baby girl, and my duties at the Today’s Homeowner headquarters, I haven’t gotten much done around the house save the usual laundry, cooking, and cleaning. However, I was able to piece a few table runners together to create some much-needed shades for our sunroom.
-
Summertime Flower Power
When I was a little kid, I loved looking through the circular from Big Lots and picking out all kinds of seasonal decorative items. I’d save up my allowance and buy a few items to decorate my bedroom and bedroom door for various holidays and seasons. (And I still have some of those gems!) Although to a lesser extent, I still enjoy doing that. You know, there are so many other home projects I want to spend my money on these days! Well I saved up my pennies once again to create a wreath for our front door to usher in the hottest of seasons, and my favorite, summer! Summer…
-
DIY Large House Numbers
Did you know that you’re required to have the street number of your house clearly visible either on the house itself or on your mailbox? I remember reading that when I was researching how high to set my mailbox back in 2011 when I moved in. (There was an elderly lady who lived here before me who had a mailbox mounted on the house. I wasn’t allowed to use it since I’m able-bodied. I still have it displayed in my office though!) Well, just because something is a necessity doesn’t mean it can’t be fun! I used the same techniques used in this video to create them, just on a smaller…